This tutorial focuses on how to publish a shapefile in Geoserver assuming that GeoServer is already installed and running via the port assigned, for example, http://localhost:8080/geoserver.
Data Preparation
Firstly, prepare the data that you wish to upload on GeoServer, that is the shapefile. For example, if you want to upload a shapefile for national parks, have the following files:
- nationalparks.shx
- nationalparks.shp
- nationalparks.prj
- nationalparks.dbf
Create a new Workspace
Secondly, create a new workspace that will store similar shapefile layers together. To do this, navigate to your localhost where GeoServer is hosted http://localhost:8080/geoserver
- Log in to GeoServer using your username and password. The default username and password are admin and GeoServer respectively.
- On the left panel, under the Data section, select the Workspaces option.
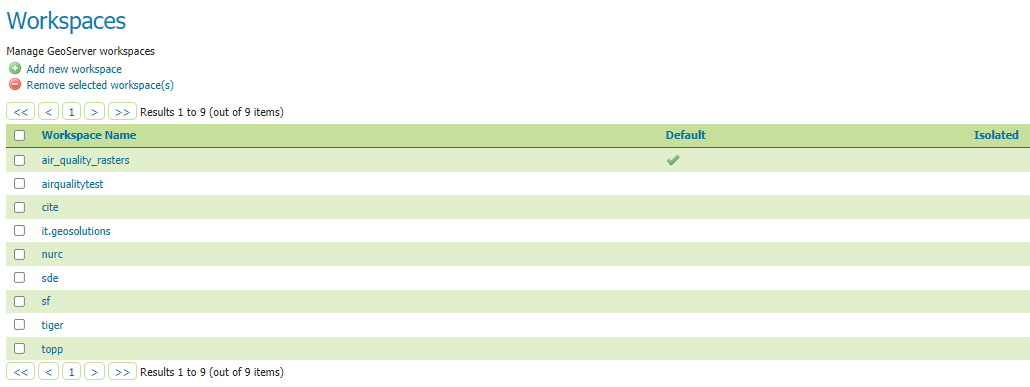
3. Select Add new workspace.
You will be prompted to enter the name of the workspace and the URI.
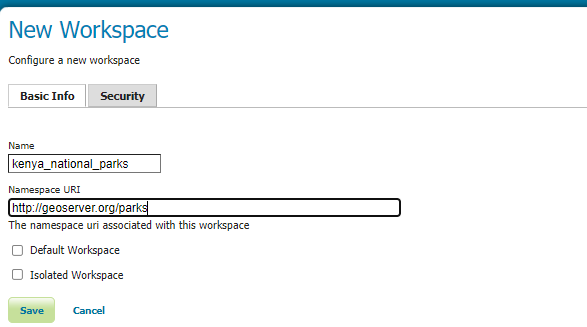
4. Enter the name as national_parks and the URI as shown above
5. Click on the Save button. The new workspace will be added to the list of existing workspaces.
Create a Store
Thirdly, add a new store for the shapefile. Adding a new store is a way to connect Geoserver with the shapefile.
- On the left panel, navigate to Data.
- Click on Stores.
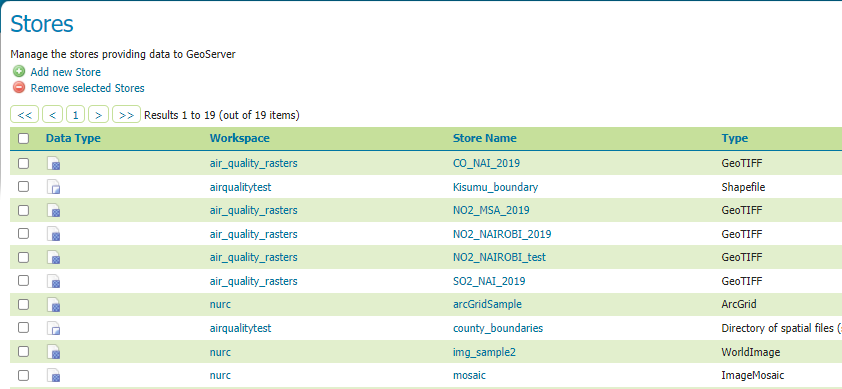
3. Click on the Add new Store option.
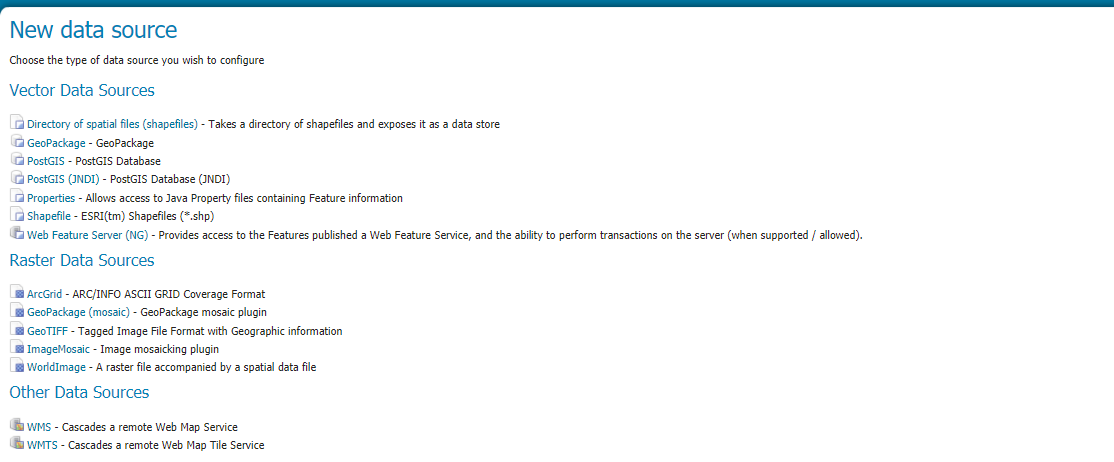
4. Under the Vector Data Sources option, navigate and click on the Shapefiles option.
5. In the Workspace* dropdown, select the previously created workspace. Choose a name for the new store.
6. Under the Connection Parameters, select the path to your locally stored shapefile by clicking the Browse option.
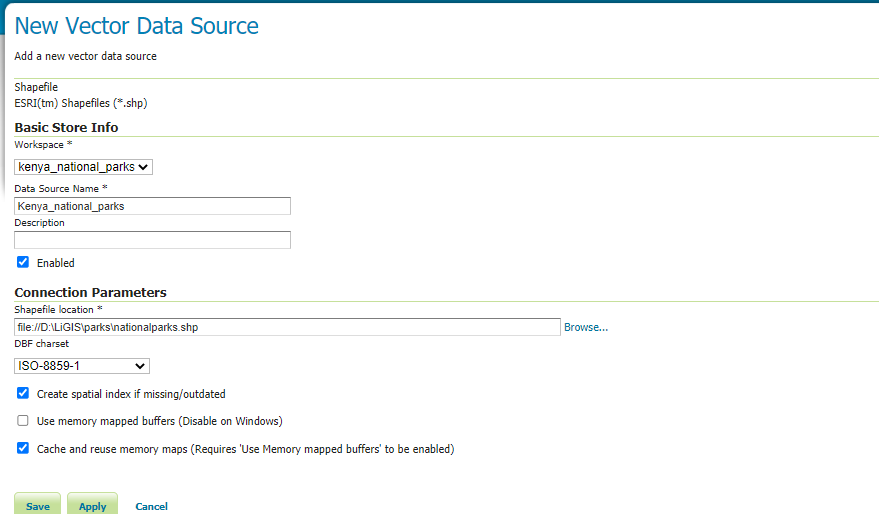
7. Click Save.
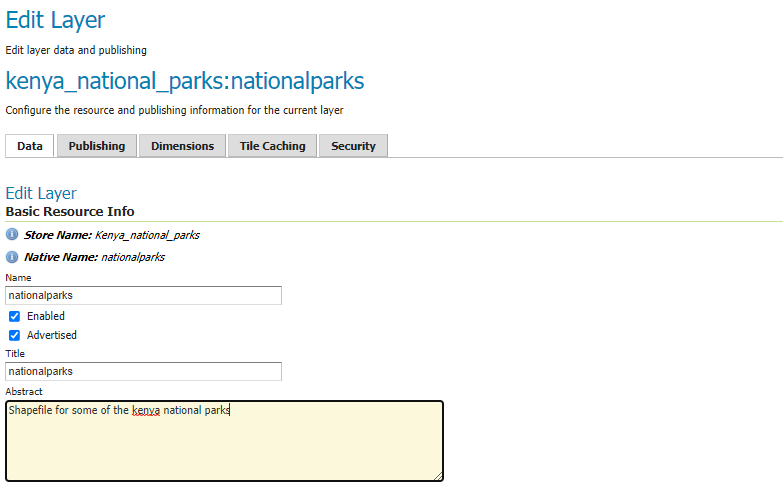
Create a new Layer
- After the store has been created, publish the layer by clicking the publish option after the layer name.

On the edit layer page, enter the name, title and a short description of your layer.
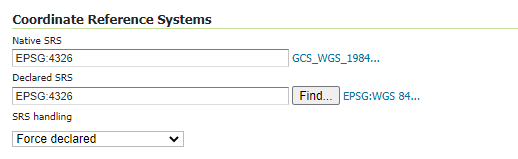
3. Set the coordinate system that matches your data. Type the code of the coordinate system to specify it. For example, 4326 for WGS 84 coordinate system.
4. Set the bounding boxes for the layer by selecting compute from data and compute from native bounds options.
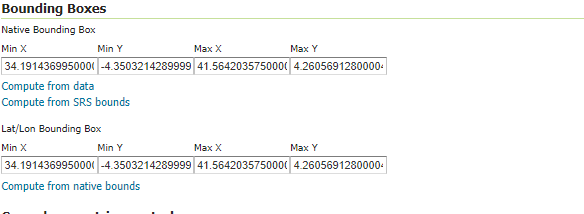
5. Click Save.
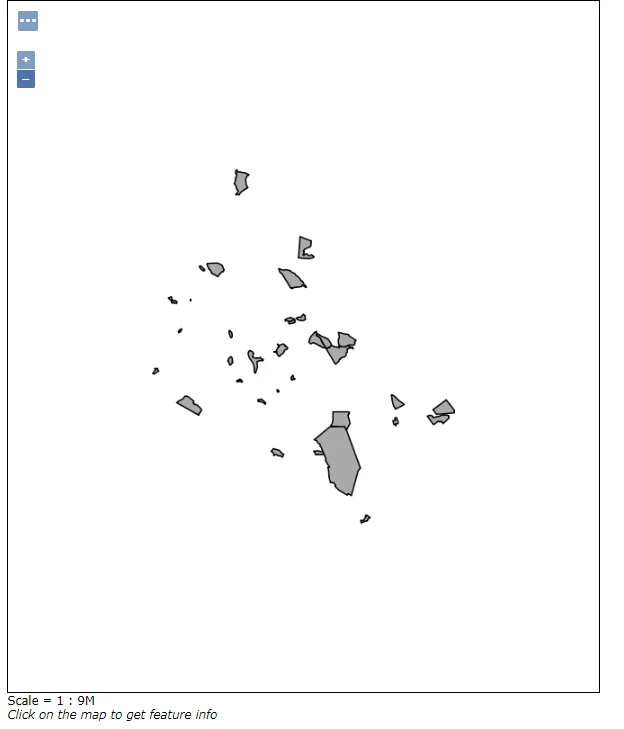
Preview the layer
The new layer appears on the layers list.

Click on the OpenLayers option next to the layer name.


How to Publish a Shapefile in GeoServer