Pan-sharpening is the process of enhancing a low-resolution multiband image by fusing it with a corresponding high spatial resolution panchromatic (single band) image such as a Landsat 8 image. The resulting multiband image has a resolution similar to the panchromatic image since the two rasters fully overlap. In the Google earth engine, the pan-sharpening process is made possible by using two methods; rgbToHsv () and hsvToRgb ().
This article focuses on outlining step-by-step the pan-sharpening process in the Google earth engine.
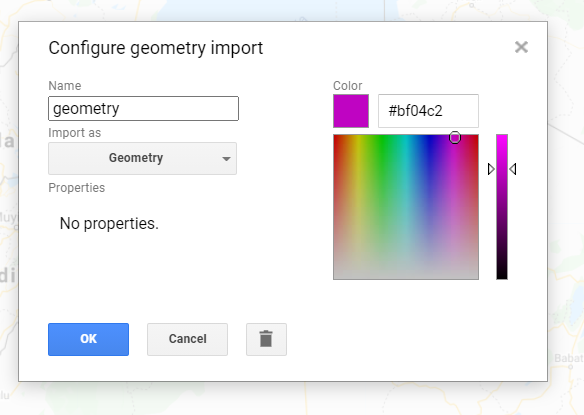
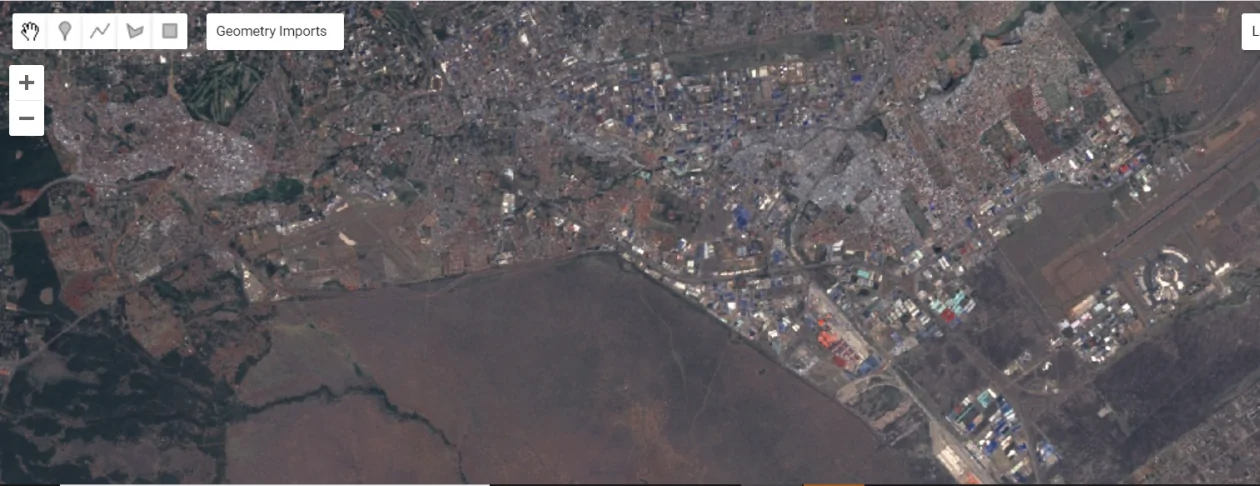
Select an area of interest.
Using the geometry tool, select your area of interest.
Add an image collection.
- In this case, an image from Landsat 8 image collection was used. Perform a sort for the clouds so as to obtain the first image with the least cloud cover.
- Proceed to perform a filter for the dates, to obtain the date the image was acquired and a filter for bounds to obtain an image for your area of interest.
var image = ee.Image(ee.ImageCollection('LANDSAT/LC08/C01/T1_TOA')
  .filterDate('2017-01-01', '2017-12-31')
  .filterBounds(geometry)
  .sort('CLOUD_COVER')
.first ());
Select the multiband and panchromatic images.
From the image collection, select a multiband image with bands 4, 3 and 2 representing red, green and blue bands respectively and a panchromatic image with only band 8 representing the panchromatic band (Landsat 8 Image)
var rgb = image.select('B4', 'B3', 'B2').clip(geometry);
var pan = image.select ('B8').clip(geometry);
Perform the pan-sharpening.
Pan-sharpening is done by converting the multiband image to HSV, swapping in the panchromatic band, and converting the image back to RGB.
var huesat = rgb.rgbToHsv().select('hue', 'saturation');
var upres = ee.Image.cat(huesat, pan).hsvToRgb();
Display before and after images using the same visualization parameters
Map.addLayer(rgb, {max: 0.3}, 'Original');
Map.addLayer(upres, {max: 0.3}, 'Pansharpened');
Original image

Pan-Sharpened Image

Pan-Sharpening on Landsat 8 image in GEE